Basil (2017)
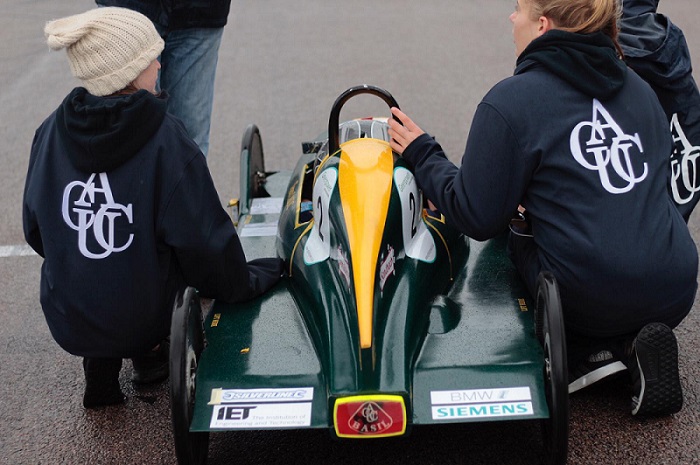
Basil
Still on a high from becoming the 2016 International Champions with the final race of the season, October half term found the team back in school looking at where to start on the new build for the 2017-18 season.
The team decided to reuse Dylan’s glass fibre moulds for the new car as it was a good aerodynamic shape and this would also reduce building time and cost. This is also a diversion from what we have done in the past. We have never built two cars the same but it also gave us the opportunity to learn from Dylan’s build and explore new techniques and ideas.The first task was to check over the moulds and clean them up ready for use again. The moulds were made up of 5 pieces. Two for the nose, two for the top bodywork, including the tail section, and one for the bottom of the bodywork. These are bolted together so that we are left with 3 separate pieces: nose, top and bottom.
What issues had we encountered making the bodywork last time?
We remembered that there had been issues, when we had been building Dylan, with the glass fibre ribs on the mould bursting through the bag when we had started applying the vacuum to suck the air out, so these would need to be smoothed as much as possible. This would be a task for Mr G and the angle grinder! Also when we had applied the epoxy to the carbon fibre we had used a wet lay-up. This was quite messy and we found that there was a lack of consistency in the application of the resin in different areas, with different users so we had some very wet areas and some quite dry areas. This means that we might have used more epoxy than required in some areas and not enough in others which means that we had to wet out some of the areas a second time.
The other issue with a wet-lay-up is that once you start you cannot stop until the mould is fully wetted out and bagged up and vacuum started. This can be quite time consuming so was there an alternative option for applying the epoxy. So what options were left to us? We investigated the option of using pre preg carbon fibre but that needs to be cooked at a temperature of around 100 degrees centigrade and we do not have access to anywhere big enough to fit the moulds so that wasn’t an option. Perhaps this is something to explore in the future?
So the decision was made that we would try and apply the epoxy using an infusion method as this would be something that we hadn’t tried before and it would be interesting to try this as it was something new and we would be able to make a direct comparison with Dylan’s build as it would be the same shape.
Making the bodywork
Firstly we had to decide how we were going to complete the work. It seemed to fit into 4 distinct areas:
- Front hatch and tail
- Remainder of top of car
- Bottom of car
- Nose
Ply shuttering was inserted into the mould to protect areas where we didn’t want carbon fibre such as the cockpit area and the front hatch and all the gaps were filled with wax to ensure that there were no gaps that the epoxy could leak through.
The carbon fibre comes on a big roll and is cut to shape and fixed into the glass fibre mould using spray adhesive. In areas where strength is required several layers of carbon fibre were applied. In non-structural areas that are not part of the main body such as the nose it was only one layer thick. On top of the carbon fibre a layer of peel ply and then a layer of mesh were all fixed. The peel ply acts as a porous removeable layer that allows air to escape and ensures that nothing sticks to the carbon fibre. The mesh acts as a flow media assisting the flow of the epoxy through the shape, these two layers are removed once the epoxy has cured. This was quite a time consuming task getting the layers neatly fixed into place as we had to be sure that we had carefully fixed the layers into the corners to avoid the carbon fibre ‘bridging’ across the corners.
At several points on top of the mesh we inserted spiral tubing, on initial inspection it looked like normal tubing but when carefully twisted it was possible to see that it was a spiral. This was useful to aid resin flow as we were working on large complex shapes and this helped to spread the flow and we needed to ensure that epoxy spread to all of the outside edges. The mould was then inserted into big plastic bag that was sealed using special sealant tape, it was important at this point to make sure that we had enough bag because once the air was sucked out it was important that it did not burst because it was being pulled too tight.
The vacuum pump was started and the air was sucked out of the bag creating a vacuum. This was quite a tense time as it was very important to ensure that the bag was secured and there was a good vacuum pressure and that the bag didn't burst. Holes were made in the bag and two pipes were attached, one at each end. It was not possible to do this before applying the vacuum as the bag will move as the vacuum was being applied. One was the access point for the epoxy and the other was for the vacuum pump and the residue pot. Any excess epoxy accumulated in the residue pot. Once all the air has been sucked out of the bag and the pressure is low enough it’s time to add the epoxy. The epoxy was mixed with hardener at a ratio of 100:30 and stirred well before pouring into the feeder pot. We found takeaway containers very handy for this task. Then the epoxy was sucked up the tubing into the mesh and spread through the carbon fibre towards the opposite end where the exit pipe leads to the residue pot. Whilst the epoxy is going through the tube it is very important to keep the feeder tube in the epoxy so that the resin is pulled through rather than air. If air gets in it is possible to be left with voids preventing the epoxy fully wetting out the carbon fibre.
Once the carbon is fully wetted out the feeder tube was clamped off and the vacuum pump left running for at least 24 hours. Once the pump has been switched off the bagged mould was left for a few days so that the epoxy could fully cure. Then the bagging material, the peel ply and mesh was all removed and the carbon fibre left in the mould for support for a few weeks before being removed once fully hardened.