| Last additions |
JD 093.jpgDec 17, 2009
|
|

JD 090.jpgDec 17, 2009
|
|
JD 089.jpgDec 17, 2009
|
|
JD 087.jpgDec 17, 2009
|
|
JD 088.jpgDec 17, 2009
|
|
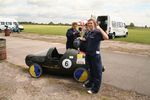
JD 085.jpgDec 17, 2009
|
|
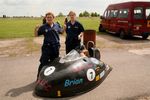
JD 084.jpgDec 17, 2009
|
|
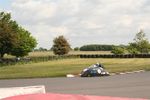
JD 083.jpgDec 17, 2009
|
|
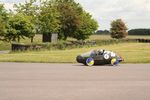
JD 082.jpgDec 17, 2009
|
|
JD 081.jpgDec 17, 2009
|
|
JD 080.jpgDec 17, 2009
|
|
JD 078.jpgDec 17, 2009
|
|
JD 079.jpgDec 17, 2009
|
|
JD 077.jpgDec 17, 2009
|
|
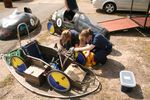
JD 076.jpgDec 17, 2009
|
|
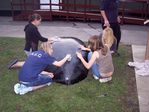
10_ Cleaning the bodywork.jpgCleaning the bodyworkDec 16, 2009
|
|
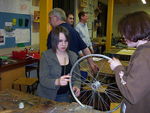
14_ Wheel construction.JPGWheel constructionDec 16, 2009
|
|
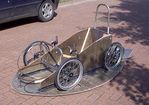
15_ fully assembled chassis.JPGFully assembled chassisDec 16, 2009
|
|
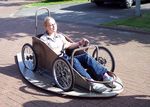
16_ 1st test run.JPG1st test run without bodyworkDec 16, 2009
|
|
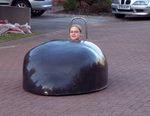
17_ 1st test run with bodywork.JPG1st test run with bodyworkDec 16, 2009
|
|
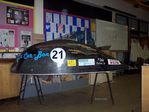
18_ finished car.JPGFinished carDec 16, 2009
|
|
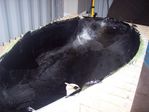
9_ Carbon fibre is finished.JPGCarbon fibre is finishedDec 16, 2009
|
|
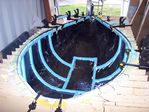
11_ Reinforcing the bodywork with styrofoam strips.JPGReinforcing the bodywork with styrofoam stripsDec 16, 2009
|
|
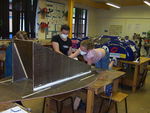
12_ putting the chassis together.JPGPutting chassis togetherDec 16, 2009
|
|
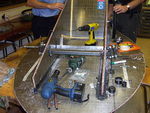
13_ Steering is attached.JPGSteering is attachedDec 16, 2009
|
|
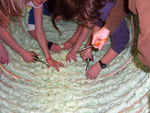
6_ Smoothing Foam.jpgSmoothing foamDec 16, 2009
|
|
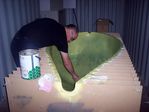
7_ Applying wax to the mould.JPGApplying wax to the mouldDec 16, 2009
|
|
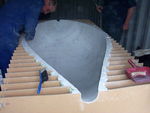
7_ Smoothing the mould with filler.JPGSmoothing the mould with fillerDec 16, 2009
|
|
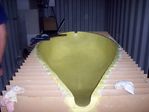
7a_ The finished mould.JPGThe finished mouldDec 16, 2009
|
|
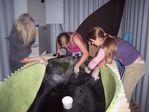
8_ Applying the carbon fibre .JPGApplying the carbon fibreDec 16, 2009
|
|
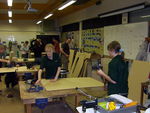
1_ Cutting templates from MDF.JPGCutting templates from MDFDec 16, 2009
|
|
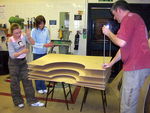
2_ Assembling templates using threaded rod.JPGAssembling templates using threaded rodDec 16, 2009
|
|
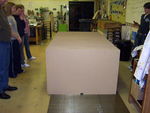
3_ Fully assembled mould marking the chassis out.JPGFully assembled mould marking the chassis outDec 16, 2009
|
|
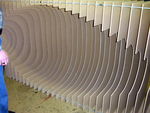
4_ Underside of mould.JPGUnderside of mouldDec 16, 2009
|
|
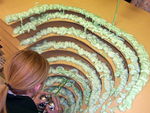
5_ Filling gaps with Foam.JPGFilling gaps with FoamDec 16, 2009
|
|
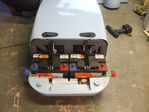
38_ Modified battery clips.JPGModified battery clipsDec 16, 2009
|
|
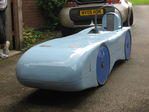
37_ paint job.jpgPaint jobDec 16, 2009
|
|
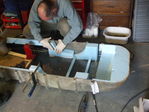
31_ Styrofoam wheel arches being glued in.JPGStyrofoam wheel arches being glued inDec 16, 2009
|
|
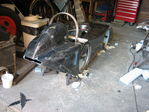
32_ Rear bodywork fitted.jpgRear bodywork fittedDec 16, 2009
|
|
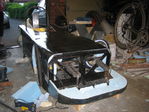
33_ front section cut off.jpgFront section cut offDec 16, 2009
|
|
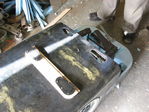
34_ Aerocatches fitted.jpgAerocatches fittedDec 16, 2009
|
|
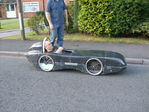
35_ First test drive.JPGFirst test driveDec 16, 2009
|
|
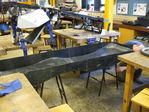
26_ Ready to fit bottom bodywork to chassis.JPGReady to fit bottom bodywork to chassisDec 16, 2009
|
|
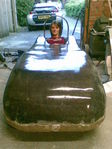
27_ test fitting of bodywork.jpgTest fitting of bodyworkDec 16, 2009
|
|
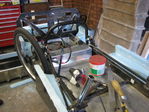
28_ shaping of styrofoam.jpgShaping styrofoamDec 16, 2009
|
|
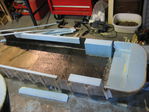
29_ Strengthening top of bodywork.jpgStrengthening top of bodyworkDec 16, 2009
|
|
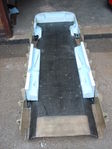
30_ strengthening bottom of bodywork.JPGStrengthening bottom of bodyworkDec 16, 2009
|
|
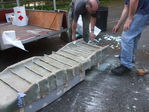
21_ Using wedged to separate top and bottom of mould.JPGUsing wedges to seperate top and bottom of mouldDec 16, 2009
|
|
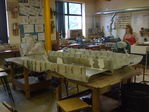
22_ All mould sections.JPGAll mould sectionsDec 16, 2009
|
|
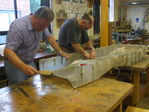
23_ Cleaning mould sections.JPGCleaning mould sectionsDec 16, 2009
|
|
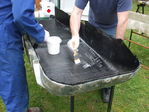
24_ Applying carbon Fibre.JPGApplying carbon fibreDec 16, 2009
|
|
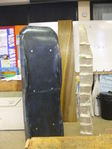
25_ Bodywork separated from mould.JPGBodywork seperated from mouldDec 16, 2009
|
|
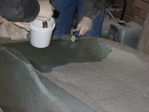
16_ Applying fibre glass.jpgApplying fibre glassDec 16, 2009
|
|
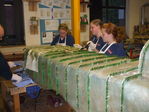
17_ adding strengthening ribs.JPGAdding strengthening ribsDec 16, 2009
|
|
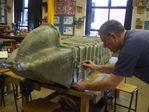
18_ Marking cut lines very accurately__.JPGMarking cut lines very accuratelyDec 16, 2009
|
|
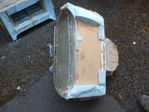
19_ Separating mould.JPGSeparating mouldDec 16, 2009
|
|
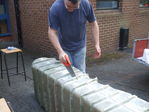
20_ Precision cutting of mould by Bob__.JPGPrecision cutting of mould by BobDec 16, 2009
|
|
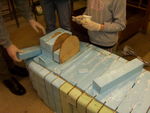
11_ More styrofoam gluing.JPGMore styrofoam gluingDec 16, 2009
|
|
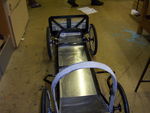
12_ Zebedee Chassis.JPGZebedee Chassis #2Dec 16, 2009
|
|
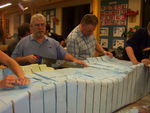
13_ Shaping and smoothing.JPGShaping and smoothingDec 16, 2009
|
|
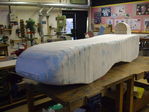
14_ Styrofoam sealed with epoxy and glass bubbles.JPGStyrofoam sealed with epoxy and glass bubblesDec 16, 2009
|
|
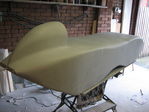
15_ Filled_ Smoothed and primed.jpgFilled Smoothed and PrimedDec 16, 2009
|
|
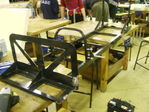
6_ Zebedee chassis.JPGZebedee chassisDec 16, 2009
|
|
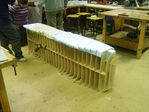
7_ Holes in chassis filled with styrofoam.JPGHoles in chassis filled with styrofoamDec 16, 2009
|
|
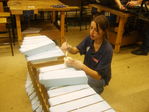
8_ Styrofoam glued in with epoxy and glass bubbles.JPGStyrofoam glued in with epoxy and glass bubblesDec 16, 2009
|
|
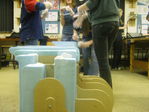
9_ More filling.JPGMore fillingDec 16, 2009
|
|
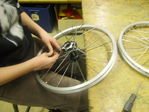
10_ Wheels being made.JPGWheels being madeDec 16, 2009
|
|
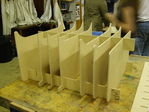
1_ MDF ribs being put together.JPGMDF ribs being put togetherDec 16, 2009
|
|
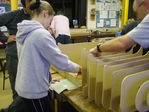
2_ MDF ribs .JPGMDF ribsDec 16, 2009
|
|
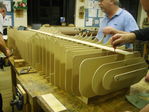
3_ Strengthening ribs put in.JPGStrengthening ribs just put inDec 16, 2009
|
|
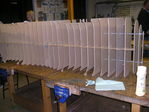
4_ Completed skeleton 1.JPGCompleted skeleton #1Dec 16, 2009
|
|
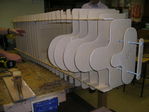
5_ Completed skeleton 2.JPGCompleted skeleton #2Dec 16, 2009
|
|
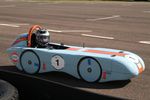
Zebedee.jpg2008 F24 Championship CarDec 15, 2009
|
|
|
|
|
|
|
| 2113 files on 18 page(s) |
 |
 |
 |
 |
 |
 |
 |
 |
 |
18 |
|