| Last additions - Car Builds |
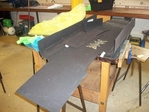
014_foam_and_seat_belt_holder.JPGFeb 15, 2013
|
|
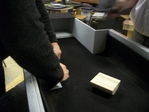
013_fitting_foam_to_mould.JPGFeb 15, 2013
|
|
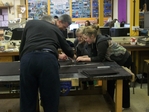
012_cutting_foam_to_shape.JPGFeb 15, 2013
|
|
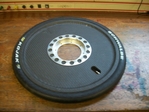
011_finished_wheel_with_tyre.JPGFeb 15, 2013
|
|
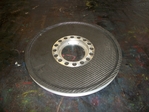
010_finished_wheel.JPGFeb 15, 2013
|
|
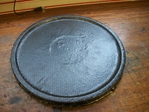
009_wheel_removed_from_bag.JPGFeb 15, 2013
|
|
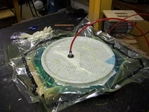
008_vac_bagging_wheel_2.JPGFeb 15, 2013
|
|
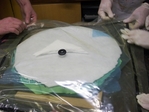
007_vac_bagging_wheel_1.JPGFeb 15, 2013
|
|
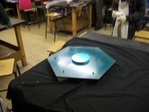
006_wheel_making_jig.JPGFeb 15, 2013
|
|

005_wheel_hub_on_axle.jpgFeb 15, 2013
|
|
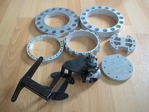
004_water_jet_parts.jpgFeb 15, 2013
|
|
003_Wheel_Hub.JPGFeb 15, 2013
|
|
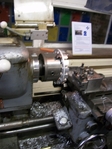
002_cutting_down_the_wheel_hubs.JPGFeb 15, 2013
|
|
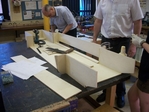
001_assembling_plywood_mould.JPGFeb 15, 2013
|
|
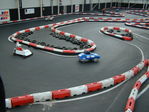
24_ first race - Daytona.JPGFeb 07, 2010
|
|
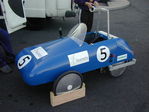
23_ finished car -ready to race.JPGFeb 07, 2010
|
|
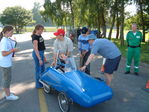
22_ Test day Oulton Park carpark.JPGFeb 07, 2010
|
|
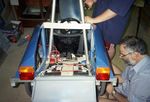
19_ ready to power up.jpgFeb 07, 2010
|
|
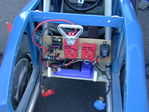
17_ dual drive electrics.JPGFeb 07, 2010
|
|
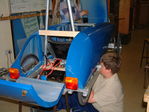
18_ rear lights and boot.JPGFeb 07, 2010
|
|
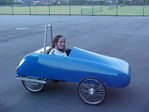
21_ Successful test.JPGFeb 07, 2010
|
|
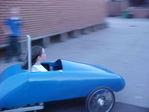
20_ Test run in the school yard.JPGFeb 07, 2010
|
|
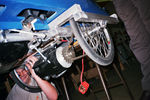
14_ drive system.JPGFeb 07, 2010
|
|
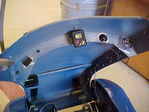
16_ dashboard.JPGFeb 07, 2010
|
|
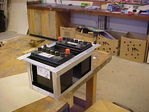
15_ battery tray.JPGFeb 07, 2010
|
|
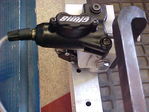
13_ Brake pedal.JPGFeb 07, 2010
|
|
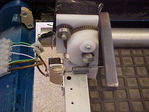
12_ accelerator pedal.JPGFeb 07, 2010
|
|
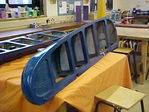
11_ painted wings.JPGFeb 07, 2010
|
|
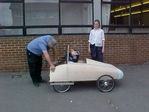
10_ First test run.JPGFeb 07, 2010
|
|
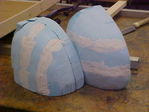
08_ Syrofoam for the front wings .JPGFeb 07, 2010
|
|
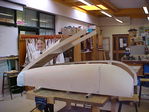
09_ Opening bonnet.JPGFeb 07, 2010
|
|
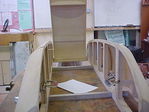
07_ Bodywork construction2.JPGFeb 07, 2010
|
|
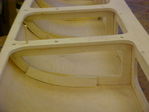
06_ Adding the aero-ply.JPGFeb 07, 2010
|
|
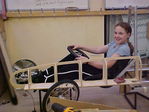
05_ Bodywork construction 1.JPGFeb 07, 2010
|
|
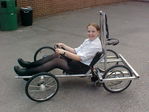
04_ Testing the rolling chassis.JPGFeb 07, 2010
|
|
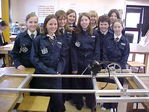
02_ The Ladder frame.JPGFeb 07, 2010
|
|
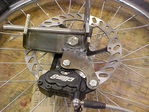
03_ stub axle.JPGFeb 07, 2010
|
|
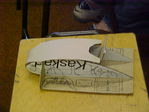
01_ Card model of Blue Bug.JPGFeb 07, 2010
|
|
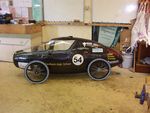
20_ Adding transfers.JPGFeb 07, 2010
|
|
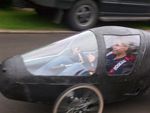
19_ 1st test run.JPGFeb 07, 2010
|
|
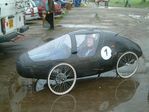
19_ first race in the rain.jpgFeb 07, 2010
|
|
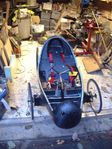
18_ Seat belts added.JPGFeb 07, 2010
|
|
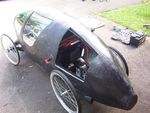
17_ Nearly complete.JPGFeb 07, 2010
|
|
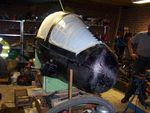
16_ adding the steering.JPGFeb 07, 2010
|
|
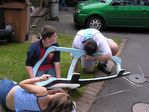
15_ adding the polycarbonate screens.JPGFeb 07, 2010
|
|
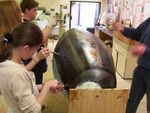
11_ Applying carbon fibre.JPGFeb 07, 2010
|
|
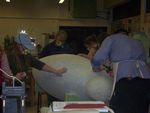
9_ sanding down slug.JPGFeb 07, 2010
|
|
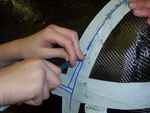
12_ Marking cut lines for cab.JPGFeb 07, 2010
|
|
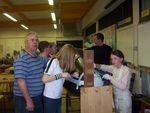
13_ Cutting out cab.JPGFeb 07, 2010
|
|
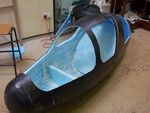
14_ All sections now cut out and seat added.JPGFeb 07, 2010
|
|
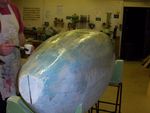
10_ sealing with epoxy.JPGFeb 07, 2010
|
|
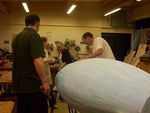
8_ Filling in gaps.JPGFeb 07, 2010
|
|
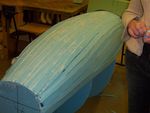
7_ Finished slug.JPGFeb 07, 2010
|
|
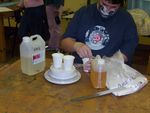
6_ Mixing epoxy and glass bubbles.JPGFeb 07, 2010
|
|
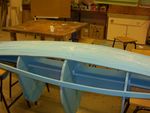
5_ Stryfoam strips glued and screwed using epoxy and glass bubbles.JPGFeb 07, 2010
|
|
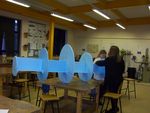
4_ Styrofoam Rib section construction.JPGFeb 07, 2010
|
|
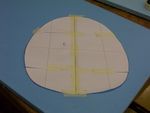
3_ CAD print out of rib section.JPGFeb 07, 2010
|
|
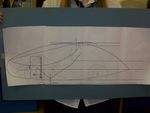
2_ CAD print outs.JPGFeb 07, 2010
|
|
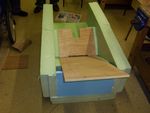
1_ Mock up of seat position.JPGFeb 07, 2010
|
|
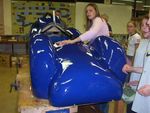
19_ Paint job done.JPGFeb 07, 2010
|
|
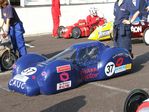
24_ Goodwood 2005.JPGFeb 07, 2010
|
|
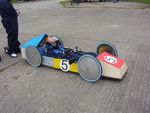
23_ 1st race with improvised bodywork.JPGFeb 07, 2010
|
|
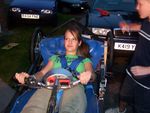
22_ steering and dashboard added.JPGFeb 07, 2010
|
|
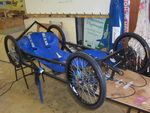
21_ Rolling chassis.JPGFeb 07, 2010
|
|
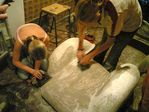
18_ Sanding down - ready for painting.jpgFeb 07, 2010
|
|
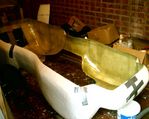
17_ Joining the two halves together.JPGFeb 07, 2010
|
|
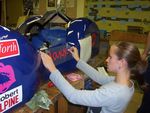
20_ Applying transfers.JPGFeb 07, 2010
|
|
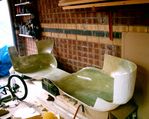
16_ The Mould is removed.JPGFeb 07, 2010
|
|
15_ removing the mould.JPGFeb 07, 2010
|
|
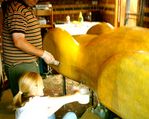
14_ Applying fibre glass.JPGFeb 07, 2010
|
|
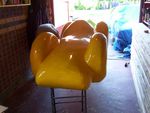
13_ Mould ready for glassing.JPGFeb 07, 2010
|
|
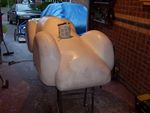
12_ Painting the mould.JPGFeb 07, 2010
|
|
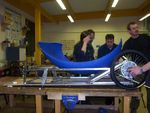
11_ Fitting the seat.JPGFeb 07, 2010
|
|
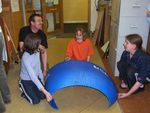
10_ Making the seat from barrel.JPGFeb 07, 2010
|
|
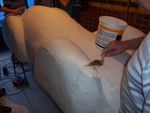
9_ Applying yet more filler.JPGFeb 07, 2010
|
|
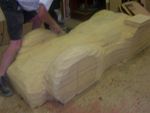
7_ Bodywork mould nearly complete.JPGFeb 07, 2010
|
|
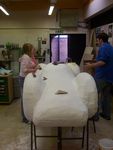
8_ Applying Filler to mould and sanding down.JPGFeb 07, 2010
|
|
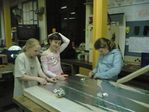
5_ Preparing insulation sheets for gluing together .jpgFeb 07, 2010
|
|
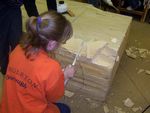
6_ Shaping the bodywork.JPGFeb 07, 2010
|
|
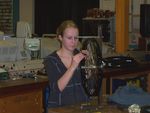
4a_ Wheel building.JPGFeb 07, 2010
|
|
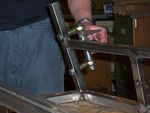
4_ Fitting Stub axles.JPGFeb 07, 2010
|
|
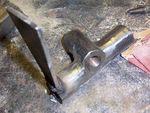
3_ Stub axles.JPGFeb 07, 2010
|
|
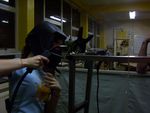
1_ Welding The chassis together.JPGFeb 07, 2010
|
|
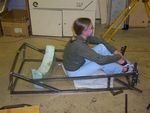
2_ Steel Chassis.JPGFeb 07, 2010
|
|
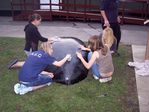
10_ Cleaning the bodywork.jpgCleaning the bodyworkDec 16, 2009
|
|
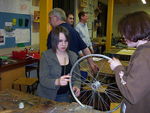
14_ Wheel construction.JPGWheel constructionDec 16, 2009
|
|
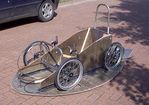
15_ fully assembled chassis.JPGFully assembled chassisDec 16, 2009
|
|
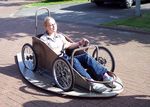
16_ 1st test run.JPG1st test run without bodyworkDec 16, 2009
|
|
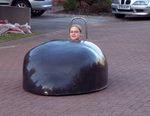
17_ 1st test run with bodywork.JPG1st test run with bodyworkDec 16, 2009
|
|
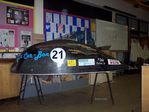
18_ finished car.JPGFinished carDec 16, 2009
|
|
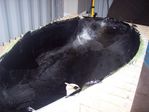
9_ Carbon fibre is finished.JPGCarbon fibre is finishedDec 16, 2009
|
|
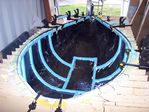
11_ Reinforcing the bodywork with styrofoam strips.JPGReinforcing the bodywork with styrofoam stripsDec 16, 2009
|
|
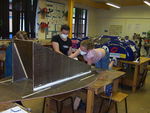
12_ putting the chassis together.JPGPutting chassis togetherDec 16, 2009
|
|
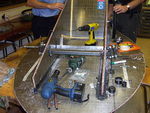
13_ Steering is attached.JPGSteering is attachedDec 16, 2009
|
|
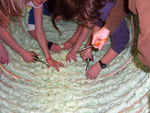
6_ Smoothing Foam.jpgSmoothing foamDec 16, 2009
|
|
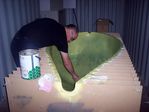
7_ Applying wax to the mould.JPGApplying wax to the mouldDec 16, 2009
|
|
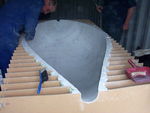
7_ Smoothing the mould with filler.JPGSmoothing the mould with fillerDec 16, 2009
|
|
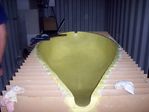
7a_ The finished mould.JPGThe finished mouldDec 16, 2009
|
|
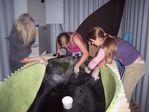
8_ Applying the carbon fibre .JPGApplying the carbon fibreDec 16, 2009
|
|
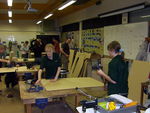
1_ Cutting templates from MDF.JPGCutting templates from MDFDec 16, 2009
|
|
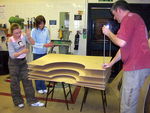
2_ Assembling templates using threaded rod.JPGAssembling templates using threaded rodDec 16, 2009
|
|
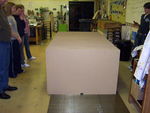
3_ Fully assembled mould marking the chassis out.JPGFully assembled mould marking the chassis outDec 16, 2009
|
|
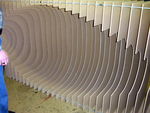
4_ Underside of mould.JPGUnderside of mouldDec 16, 2009
|
|
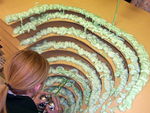
5_ Filling gaps with Foam.JPGFilling gaps with FoamDec 16, 2009
|
|
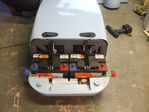
38_ Modified battery clips.JPGModified battery clipsDec 16, 2009
|
|
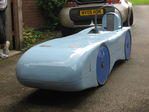
37_ paint job.jpgPaint jobDec 16, 2009
|
|
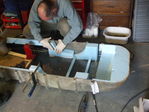
31_ Styrofoam wheel arches being glued in.JPGStyrofoam wheel arches being glued inDec 16, 2009
|
|
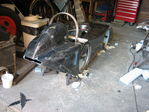
32_ Rear bodywork fitted.jpgRear bodywork fittedDec 16, 2009
|
|
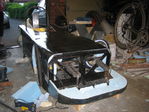
33_ front section cut off.jpgFront section cut offDec 16, 2009
|
|
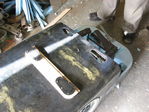
34_ Aerocatches fitted.jpgAerocatches fittedDec 16, 2009
|
|
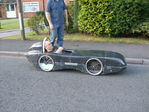
35_ First test drive.JPGFirst test driveDec 16, 2009
|
|
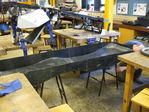
26_ Ready to fit bottom bodywork to chassis.JPGReady to fit bottom bodywork to chassisDec 16, 2009
|
|
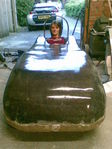
27_ test fitting of bodywork.jpgTest fitting of bodyworkDec 16, 2009
|
|
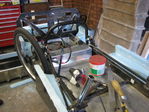
28_ shaping of styrofoam.jpgShaping styrofoamDec 16, 2009
|
|
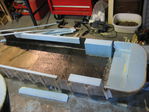
29_ Strengthening top of bodywork.jpgStrengthening top of bodyworkDec 16, 2009
|
|
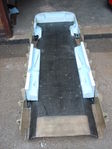
30_ strengthening bottom of bodywork.JPGStrengthening bottom of bodyworkDec 16, 2009
|
|
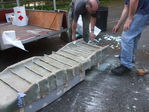
21_ Using wedged to separate top and bottom of mould.JPGUsing wedges to seperate top and bottom of mouldDec 16, 2009
|
|
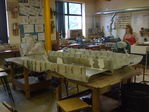
22_ All mould sections.JPGAll mould sectionsDec 16, 2009
|
|
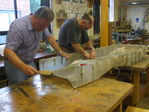
23_ Cleaning mould sections.JPGCleaning mould sectionsDec 16, 2009
|
|
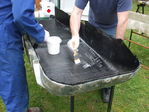
24_ Applying carbon Fibre.JPGApplying carbon fibreDec 16, 2009
|
|
| 382 files on 4 page(s) |
 |
3 |
|