| Most viewed - Car Builds |
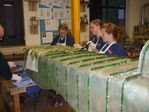
17_ adding strengthening ribs.JPGAdding strengthening ribs5990 views
|
|
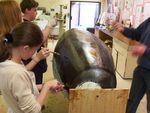
11_ Applying carbon fibre.JPG1831 views
|
|
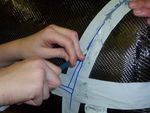
12_ Marking cut lines for cab.JPG1792 views
|
|

044_temporary_front_section_fitted.JPG1419 views
|
|
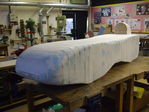
14_ Styrofoam sealed with epoxy and glass bubbles.JPGStyrofoam sealed with epoxy and glass bubbles1048 views
|
|
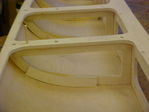
06_ Adding the aero-ply.JPG917 views
|
|
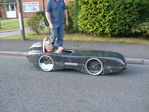
35_ First test drive.JPGFirst test drive874 views
|
|
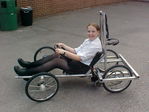
04_ Testing the rolling chassis.JPG868 views
|
|
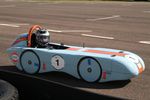
Zebedee.jpg2008 F24 Championship Car851 views
|
|
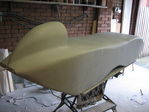
15_ Filled_ Smoothed and primed.jpgFilled Smoothed and Primed813 views
|
|
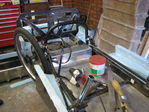
28_ shaping of styrofoam.jpgShaping styrofoam788 views
|
|
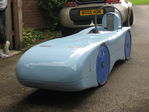
37_ paint job.jpgPaint job762 views
|
|
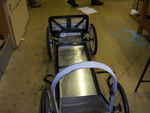
12_ Zebedee Chassis.JPGZebedee Chassis #2750 views
|
|
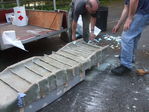
21_ Using wedged to separate top and bottom of mould.JPGUsing wedges to seperate top and bottom of mould744 views
|
|
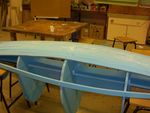
5_ Stryfoam strips glued and screwed using epoxy and glass bubbles.JPG734 views
|
|
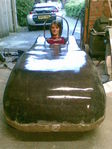
27_ test fitting of bodywork.jpgTest fitting of bodywork732 views
|
|
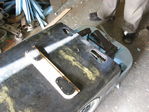
34_ Aerocatches fitted.jpgAerocatches fitted710 views
|
|
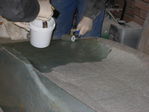
16_ Applying fibre glass.jpgApplying fibre glass697 views
|
|
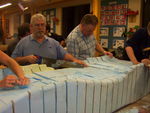
13_ Shaping and smoothing.JPGShaping and smoothing695 views
|
|
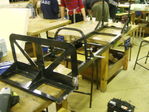
6_ Zebedee chassis.JPGZebedee chassis668 views
|
|
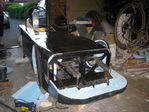
33_ front section cut off.jpgFront section cut off660 views
|
|
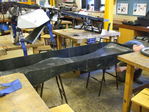
26_ Ready to fit bottom bodywork to chassis.JPGReady to fit bottom bodywork to chassis657 views
|
|
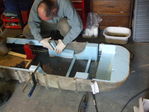
31_ Styrofoam wheel arches being glued in.JPGStyrofoam wheel arches being glued in652 views
|
|
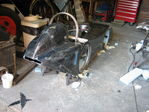
32_ Rear bodywork fitted.jpgRear bodywork fitted645 views
|
|
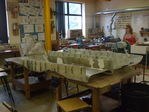
22_ All mould sections.JPGAll mould sections641 views
|
|
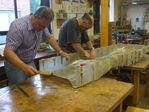
23_ Cleaning mould sections.JPGCleaning mould sections637 views
|
|
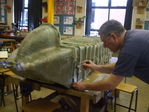
18_ Marking cut lines very accurately__.JPGMarking cut lines very accurately628 views
|
|
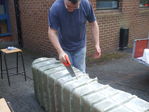
20_ Precision cutting of mould by Bob__.JPGPrecision cutting of mould by Bob626 views
|
|
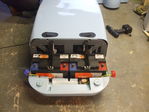
38_ Modified battery clips.JPGModified battery clips626 views
|
|
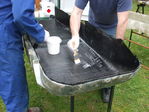
24_ Applying carbon Fibre.JPGApplying carbon fibre615 views
|
|
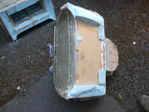
19_ Separating mould.JPGSeparating mould602 views
|
|
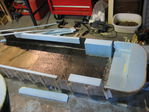
29_ Strengthening top of bodywork.jpgStrengthening top of bodywork602 views
|
|
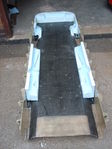
30_ strengthening bottom of bodywork.JPGStrengthening bottom of bodywork599 views
|
|
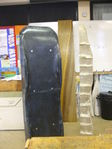
25_ Bodywork separated from mould.JPGBodywork seperated from mould598 views
|
|
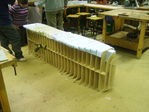
7_ Holes in chassis filled with styrofoam.JPGHoles in chassis filled with styrofoam590 views
|
|
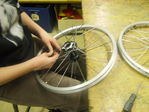
10_ Wheels being made.JPGWheels being made570 views
|
|
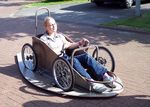
16_ 1st test run.JPG1st test run without bodywork561 views
|
|

047_finished_car_at_Goodwood.jpg559 views
|
|
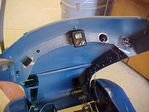
16_ dashboard.JPG558 views
|
|
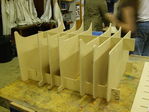
1_ MDF ribs being put together.JPGMDF ribs being put together557 views
|
|
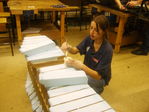
8_ Styrofoam glued in with epoxy and glass bubbles.JPGStyrofoam glued in with epoxy and glass bubbles557 views
|
|
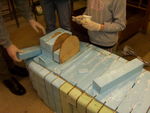
11_ More styrofoam gluing.JPGMore styrofoam gluing552 views
|
|
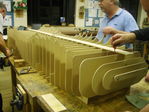
3_ Strengthening ribs put in.JPGStrengthening ribs just put in551 views
|
|
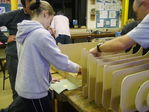
2_ MDF ribs .JPGMDF ribs547 views
|
|

037_rear_hub.jpg547 views
|
|
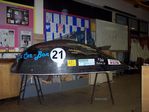
18_ finished car.JPGFinished car546 views
|
|
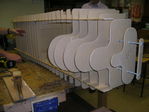
5_ Completed skeleton 2.JPGCompleted skeleton #2545 views
|
|
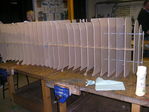
4_ Completed skeleton 1.JPGCompleted skeleton #1543 views
|
|
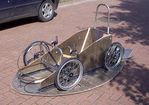
15_ fully assembled chassis.JPGFully assembled chassis537 views
|
|
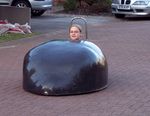
17_ 1st test run with bodywork.JPG1st test run with bodywork529 views
|
|
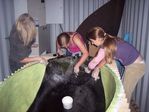
8_ Applying the carbon fibre .JPGApplying the carbon fibre518 views
|
|

043_tail_fitted2C_dashboard_fitted.JPG518 views
|
|
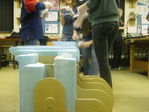
9_ More filling.JPGMore filling517 views
|
|

036_steering_and_dashboard.jpg514 views
|
|
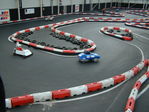
24_ first race - Daytona.JPG511 views
|
|

035_rear_wheel_arch_attached.jpg497 views
|
|

034_chain_attached.jpg490 views
|
|

041.JPG488 views
|
|

027_kevlar_applied_to_sides.jpg482 views
|
|

026_on_wheels.jpg480 views
|
|
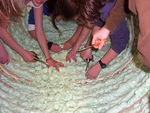
6_ Smoothing Foam.jpgSmoothing foam478 views
|
|
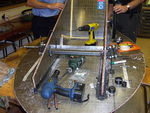
13_ Steering is attached.JPGSteering is attached478 views
|
|
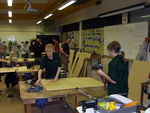
1_ Cutting templates from MDF.JPGCutting templates from MDF472 views
|
|

033_motor_fixed_on.jpg471 views
|
|

045_Dougal_and_Zebedee.jpg471 views
|
|

025_wheel_hub.jpg470 views
|
|

028_tlit_test.jpg469 views
|
|
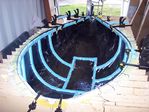
11_ Reinforcing the bodywork with styrofoam strips.JPGReinforcing the bodywork with styrofoam strips467 views
|
|

039_tail_section_2.jpg458 views
|
|

040_rear_wheel_arches_vac_bagged.JPG456 views
|
|
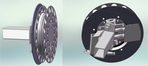
005_wheel_hub_on_axle.jpg450 views
|
|
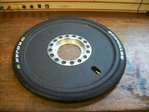
011_finished_wheel_with_tyre.JPG447 views
|
|

042_fitting_the_tail_section.JPG444 views
|
|
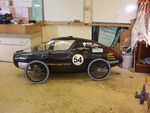
20_ Adding transfers.JPG443 views
|
|
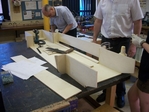
001_assembling_plywood_mould.JPG442 views
|
|

046_Dougal_at_Croft.JPG442 views
|
|
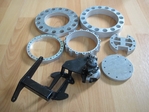
004_water_jet_parts.jpg440 views
|
|
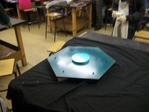
006_wheel_making_jig.JPG440 views
|
|
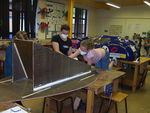
12_ putting the chassis together.JPGPutting chassis together437 views
|
|

024_rear_quarter.jpg437 views
|
|

029_roll_bar_fixed.jpg437 views
|
|

030_brake_cables.jpg436 views
|
|
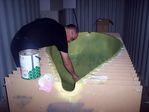
7_ Applying wax to the mould.JPGApplying wax to the mould435 views
|
|

022_body_sections_joined2C_cockpit_opening_marked_out.jpg434 views
|
|
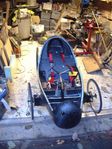
18_ Seat belts added.JPG432 views
|
|
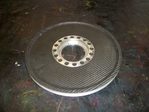
010_finished_wheel.JPG432 views
|
|

025_cockpit.jpg431 views
|
|

038_tail_section.jpg431 views
|
|
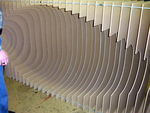
4_ Underside of mould.JPGUnderside of mould423 views
|
|
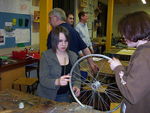
14_ Wheel construction.JPGWheel construction423 views
|
|

018_applying_final_layer_of_carbon.JPG420 views
|
|

019_vac_bagging_mould.JPG417 views
|
|
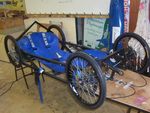
21_ Rolling chassis.JPG416 views
|
|
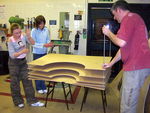
2_ Assembling templates using threaded rod.JPGAssembling templates using threaded rod415 views
|
|
008_vac_bagging_wheel_2.JPG415 views
|
|
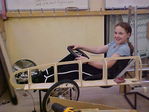
05_ Bodywork construction 1.JPG414 views
|
|

032_motor_clamp.jpg413 views
|
|
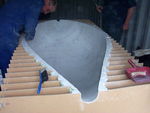
7_ Smoothing the mould with filler.JPGSmoothing the mould with filler410 views
|
|
9_ Carbon fibre is finished.JPGCarbon fibre is finished410 views
|
|

016_applying_carbon_to_body_mould_1.JPG409 views
|
|
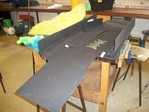
014_foam_and_seat_belt_holder.JPG408 views
|
|
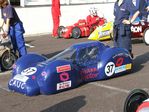
24_ Goodwood 2005.JPG406 views
|
|
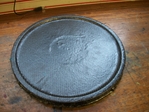
009_wheel_removed_from_bag.JPG404 views
|
|

031_head_rest.JPG403 views
|
|
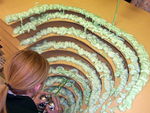
5_ Filling gaps with Foam.JPGFilling gaps with Foam401 views
|
|
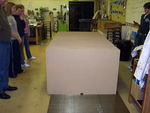
3_ Fully assembled mould marking the chassis out.JPGFully assembled mould marking the chassis out401 views
|
|
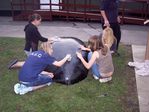
10_ Cleaning the bodywork.jpgCleaning the bodywork401 views
|
|
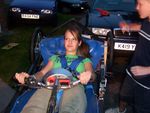
22_ steering and dashboard added.JPG401 views
|
|

020_bottom_chassis_section_removed_from_mould.JPG400 views
|
|
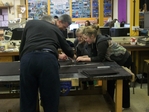
012_cutting_foam_to_shape.JPG399 views
|
|
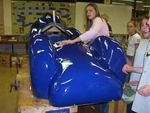
19_ Paint job done.JPG396 views
|
|

017_fixing_seat_belt_holder.JPG396 views
|
|
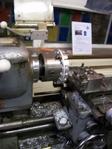
002_cutting_down_the_wheel_hubs.JPG395 views
|
|
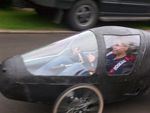
19_ 1st test run.JPG393 views
|
|

015_primed_and_strengthened_mould.JPG392 views
|
|
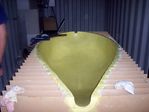
7a_ The finished mould.JPGThe finished mould389 views
|
|
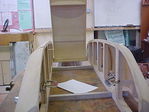
07_ Bodywork construction2.JPG388 views
|
|
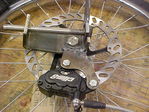
03_ stub axle.JPG387 views
|
|

023_rea_rbulk_head.jpg384 views
|
|

021_body_sections_routered_and_ready_for_joining-1.jpg381 views
|
|
| 382 files on 4 page(s) |
1 |
 |
|
 Login
