| Most viewed - Car Builds |
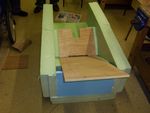
1_ Mock up of seat position.JPG281 views
|
|
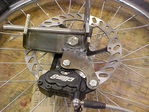
03_ stub axle.JPG278 views
|
|
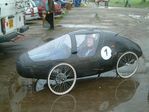
19_ first race in the rain.jpg273 views
|
|
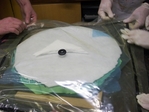
007_vac_bagging_wheel_1.JPG262 views
|
|
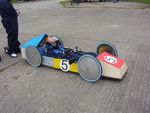
23_ 1st race with improvised bodywork.JPG257 views
|
|
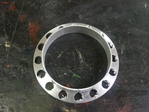
003_Wheel_Hub.JPG257 views
|
|
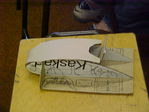
01_ Card model of Blue Bug.JPG251 views
|
|
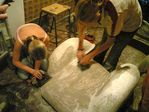
18_ Sanding down - ready for painting.jpg235 views
|
|
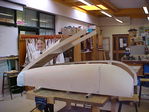
09_ Opening bonnet.JPG235 views
|
|
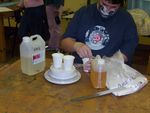
6_ Mixing epoxy and glass bubbles.JPG233 views
|
|
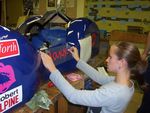
20_ Applying transfers.JPG232 views
|
|
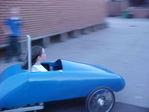
20_ Test run in the school yard.JPG230 views
|
|
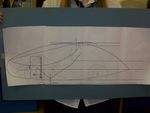
2_ CAD print outs.JPG228 views
|
|
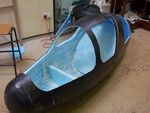
14_ All sections now cut out and seat added.JPG226 views
|
|
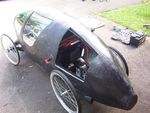
17_ Nearly complete.JPG224 views
|
|
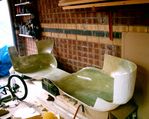
16_ The Mould is removed.JPG218 views
|
|
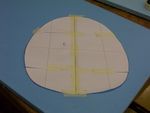
3_ CAD print out of rib section.JPG216 views
|
|
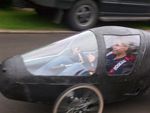
19_ 1st test run.JPG216 views
|
|
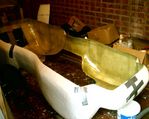
17_ Joining the two halves together.JPG215 views
|
|
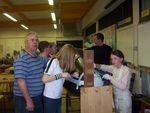
13_ Cutting out cab.JPG215 views
|
|
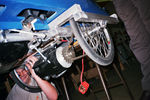
14_ drive system.JPG215 views
|
|
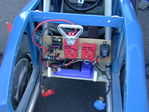
17_ dual drive electrics.JPG213 views
|
|
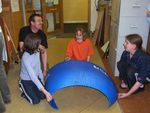
10_ Making the seat from barrel.JPG212 views
|
|
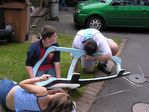
15_ adding the polycarbonate screens.JPG212 views
|
|
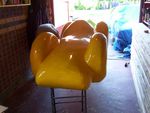
13_ Mould ready for glassing.JPG210 views
|
|
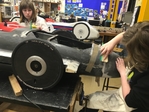
160105-175410.jpg210 views
|
|
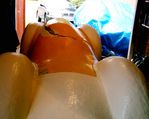
15_ removing the mould.JPG209 views
|
|
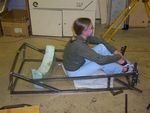
2_ Steel Chassis.JPG208 views
|
|
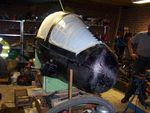
16_ adding the steering.JPG207 views
|
|
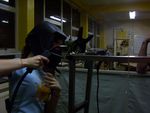
1_ Welding The chassis together.JPG206 views
|
|
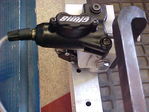
13_ Brake pedal.JPG204 views
|
|
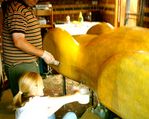
14_ Applying fibre glass.JPG203 views
|
|
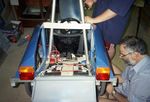
19_ ready to power up.jpg203 views
|
|
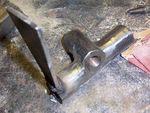
3_ Stub axles.JPG201 views
|
|
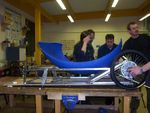
11_ Fitting the seat.JPG201 views
|
|
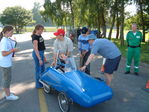
22_ Test day Oulton Park carpark.JPG200 views
|
|
150215-132846.jpg200 views
|
|
150705-142841.jpg200 views
|
|
7_ Finished slug.JPG198 views
|
|
02_ The Ladder frame.JPG198 views
|
|

150531-185531.jpgPreparing carbon fibre on side of car196 views
|
|
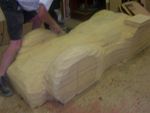
7_ Bodywork mould nearly complete.JPG195 views
|
|
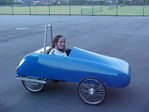
21_ Successful test.JPG195 views
|
|
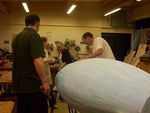
8_ Filling in gaps.JPG192 views
|
|
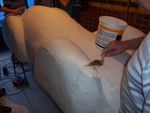
9_ Applying yet more filler.JPG190 views
|
|
150705-142904.jpg190 views
|
|
15_ battery tray.JPG189 views
|
|
23_ finished car -ready to race.JPG189 views
|
|
12_ Painting the mould.JPG188 views
|
|
18_ rear lights and boot.JPG188 views
|
|
5_ Preparing insulation sheets for gluing together .jpg187 views
|
|
9_ sanding down slug.JPG187 views
|
|
160105-175939.jpg187 views
|
|
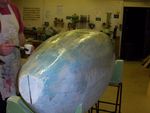
10_ sealing with epoxy.JPG186 views
|
|
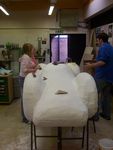
8_ Applying Filler to mould and sanding down.JPG185 views
|
|
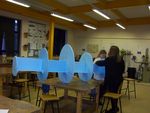
4_ Styrofoam Rib section construction.JPG185 views
|
|
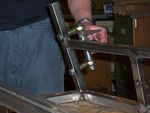
4_ Fitting Stub axles.JPG183 views
|
|
4a_ Wheel building.JPG182 views
|
|
160105-175456.jpg181 views
|
|
161029-154657.jpg180 views
|
|
150215-135014.jpg180 views
|
|
6_ Shaping the bodywork.JPG175 views
|
|
150215-134033.jpg174 views
|
|
10_ First test run.JPG173 views
|
|
150215-132849.jpg173 views
|
|
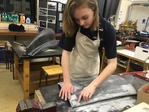
160105-175440.jpg168 views
|
|
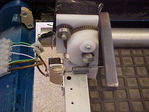
12_ accelerator pedal.JPG167 views
|
|
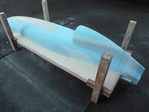
141230-170323.jpgFoam slices all glued together to form foam buck165 views
|
|

160618-160541.jpg164 views
|
|

150221-181136.jpgWetting out glass fibre mat for mould162 views
|
|
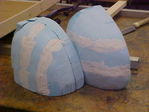
08_ Syrofoam for the front wings .JPG161 views
|
|
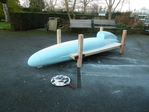
141230-170534.jpgFoam slices all glued together to form foam buck161 views
|
|
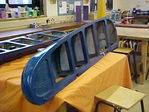
11_ painted wings.JPG157 views
|
|
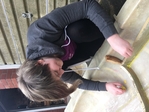
161030-110450.jpg155 views
|
|
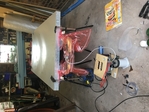
161030-110210.jpg154 views
|
|
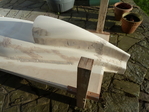
150102-144440.jpgFilling and sanding foam buck149 views
|
|

150221-161946.jpgWetting out glass fibre mat for mould147 views
|
|
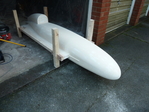
150118-152202.jpgFoam buck ready to mould142 views
|
|
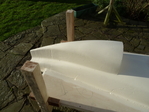
150102-144451.jpgFilling and sanding foam buck141 views
|
|
170427-180648.JPG141 views
|
|
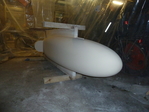
150113-081607.jpgFoam buck ready to mould140 views
|
|
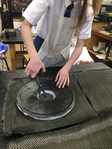
170427-181330.JPG139 views
|
|
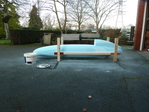
141230-170439.jpgFoam slices all glued together to form foam buck138 views
|
|

150221-181121.jpgWetting out glass fibre mat for mould137 views
|
|
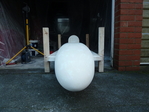
150118-152221.jpgFoam buck ready to mould135 views
|
|
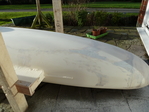
150102-144506.jpgFilling and sanding foam buck134 views
|
|
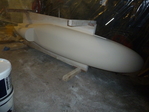
150113-081620.jpgFoam buck ready to mould134 views
|
|

150221-162005.jpgWetting out glass fibre mat for mould134 views
|
|
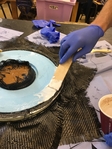
170427-181049.JPG133 views
|
|
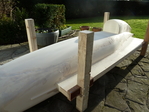
150102-144612.jpgFilling and sanding foam buck130 views
|
|
161115-173942.jpg129 views
|
|
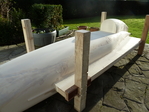
150102-144618.jpgFilling and sanding foam buck127 views
|
|
150113-081636.jpgFoam buck ready to mould127 views
|
|
161030-110627.jpg125 views
|
|
150102-144516.jpgFilling and sanding foam buck125 views
|
|
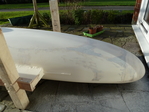
150102-144527.jpgFilling and sanding foam buck125 views
|
|
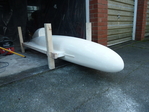
150118-152209.jpgFoam buck ready to mould125 views
|
|

150221-162016.jpgWetting out glass fibre mat for mould125 views
|
|
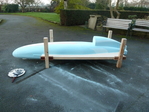
141230-170524.jpgFoam slices all glued together to form foam buck124 views
|
|
170427-181522.JPG124 views
|
|
170427-182200.JPG124 views
|
|
161115-174002.jpg123 views
|
|
161115-174010.jpg123 views
|
|
170427-181835.JPG120 views
|
|
161030-112034.jpg119 views
|
|
170427-182716.JPG119 views
|
|
170427-183006.JPG118 views
|
|
161030-175319.jpg117 views
|
|
161030-180557.jpg117 views
|
|
170427-182444.JPG117 views
|
|
161030-112215.jpg116 views
|
|
161030-130522.jpg114 views
|
|
161030-161917.jpg113 views
|
|
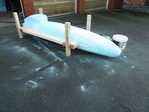
141230-170359.jpgFoam slices all glued together to form foam buck113 views
|
|
170427-180232.JPG113 views
|
|
170427-182842.JPG113 views
|
|
161030-130205.jpg112 views
|
|
161030-180654.jpg112 views
|
|
161030-113120.jpg111 views
|
|
161030-132433.jpg111 views
|
|
| 382 files on 4 page(s) |
2 |  |
|