Complete and Utter Chaos F24 Racing Team

Inspiring Young Women In Engineering


Home Login
CAUC Main Website Album list Last uploads Last comments Most viewed Top rated My Favorites Search
Home > Car Builds > Carbon QT Build

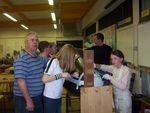
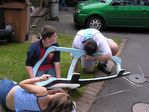
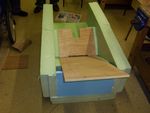
1_ Mock up of seat position.JPG
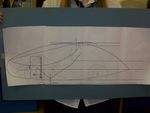
2_ CAD print outs.JPG
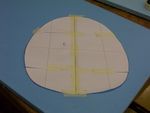
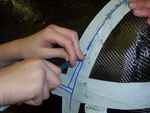
3_ CAD print out of rib section.JPG
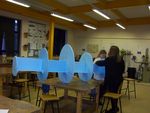
4_ Styrofoam Rib section construction.JPG
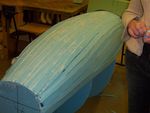
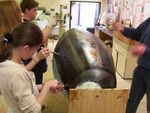
5_ Stryfoam strips glued and screwed using epoxy and glass bubbles.JPG
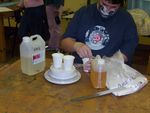
6_ Mixing epoxy and glass bubbles.JPG
7_ Finished slug.JPG
8_ Filling in gaps.JPG
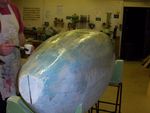
10_ sealing with epoxy.JPG
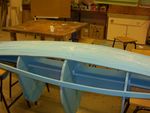
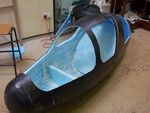
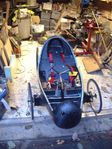
14_ All sections now cut out and seat added.JPG
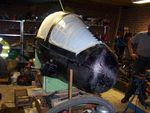
13_ Cutting out cab.JPG
12_ Marking cut lines for cab.JPG
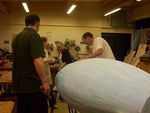
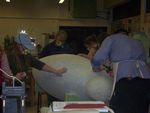
9_ sanding down slug.JPG
11_ Applying carbon fibre.JPG
15_ adding the polycarbonate screens.JPG
16_ adding the steering.JPG
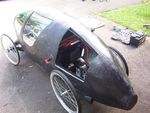
17_ Nearly complete.JPG
18_ Seat belts added.JPG
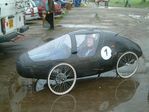
19_ first race in the rain.jpg
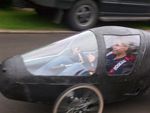
19_ 1st test run.JPG
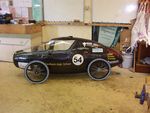
20_ Adding transfers.JPG
     
21 files on 1 page(s)