15th June 2019
With two cars needing to be repaired and only two weeks to go until our next race at Goodwood, it was time to head over to Richard & Jane's for our second garage session of the season.
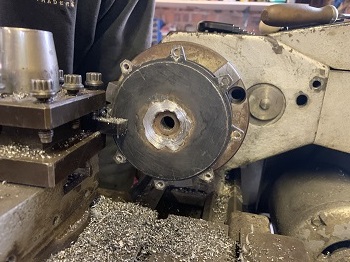
Job no.1 of the afternoon was to repair Dylan's back wheel following the race at Anglesey. On closer inspection in the garage, we realised that the wheel hub was broken - the centre had come away from the brake drum. Thankfully, although time consuming, this was easily fixable!
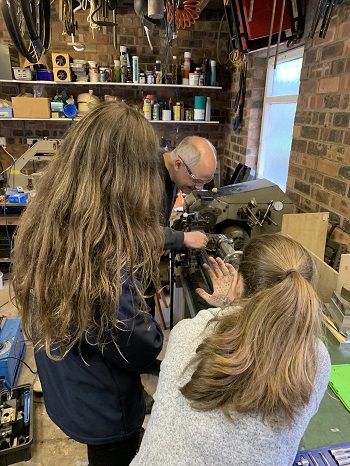
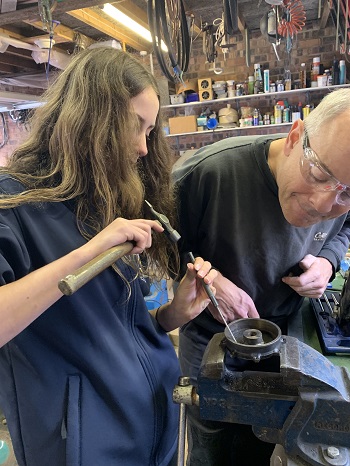
The first task of the repair job was using the lathe to machine it down, removing any of the previous weld before making a chamfer for the brake drum ready to weld it back together again. This provided a great opportunity for Richard to give Lucy and Katy a refresher course on using a lathe!!
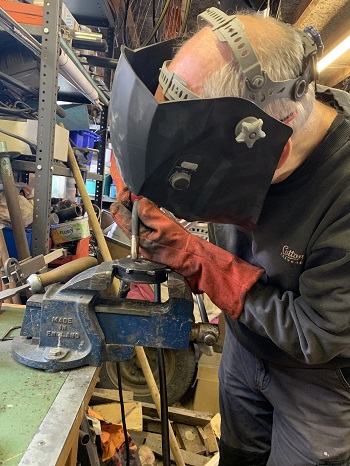
Once the chamfer had been made, it was over to Richard to weld the two pieces back together again.
(nb: no eyes were harmed in the taking of this photo!)
...and here it is - hot of the press!!!!
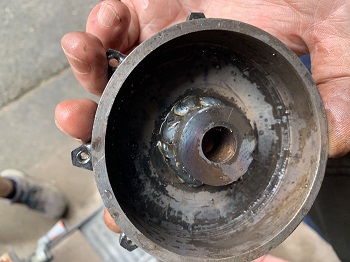
Freshly welded, Lucy & Richard headed back onto the lathe to clean up the outside, before Lucy removed the weld splatter from the inside.
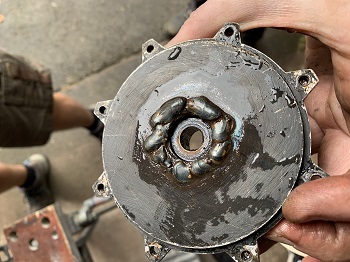
Using Emery paper, Lucy then proceeded to give the taper a quick clean up.
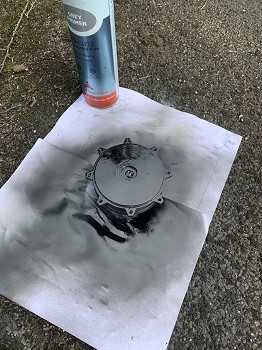
Next task was to prime and then spray the hub black to prevent it from rusting. However, before Becksy was let loose with the spray paint (...under Richard's watchful eye!!!!), Lucy re-attached the hub to Dylan to check that everything was straight, in-line and that the wheel didn't wobble whilst rotating.
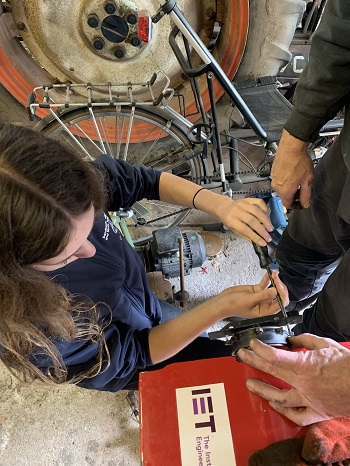
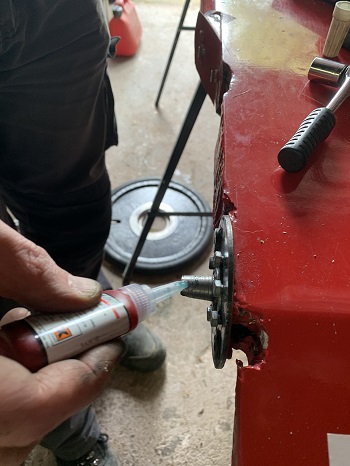
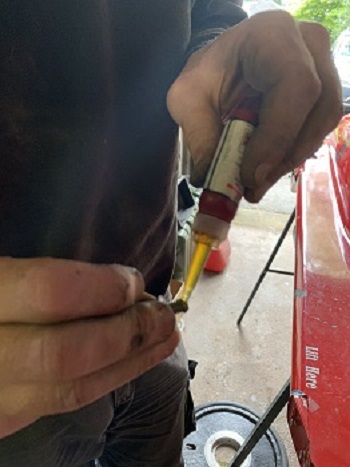
Once the paint had dried, the last task was to fix the wheel hub and wheel back onto Dylan. As we seem to have developed a slight history of wheels falling off or wheel screws working loose, we used threadlock on both the taper and screws to make sure history doesn't repeat itself!

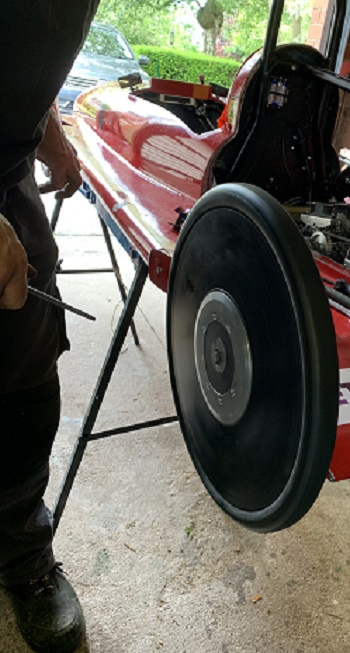
...and there you go! One newly repaired wheel ready to tackle the corners of Goodwood!!
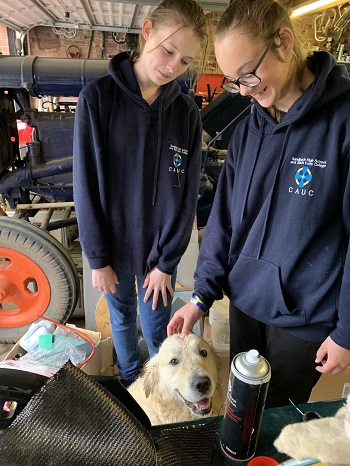
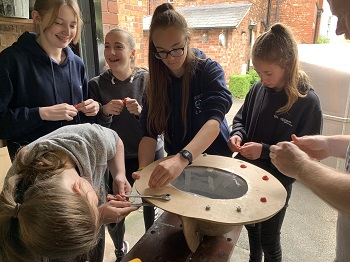
Whilst Lucy, Becksy and Richard were repairing Dylan; Immy, Jess, Katy, Bethan and Rachel were working with Mr G to make Basil his new nose cone. All under the careful supervision of Dug, our four legged team mascot!!!
After the mould had been fully waxed, using spray adhesive, Jess and Immy layed strips of carbon fibre into the mould.
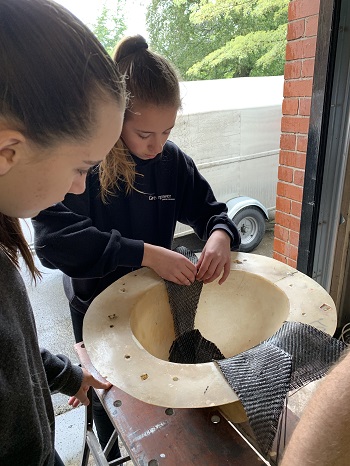

Once all the carbon fibre had been layed, Bethan, Katy and Jess cut out squares of peel ply ready to be added.
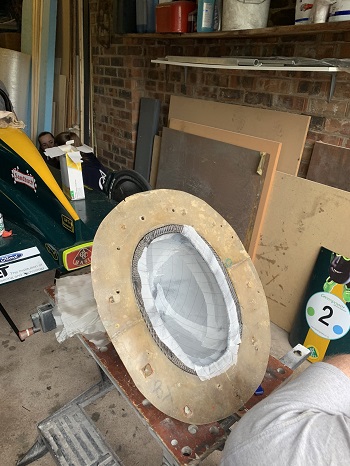
Next layer to be added was the mesh and plug....all fixed in place with the very sophisticated method of...Masking tape!!
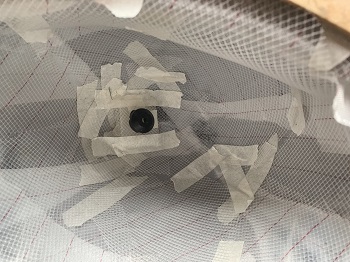
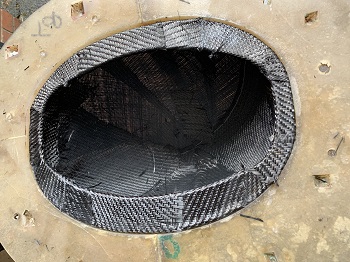
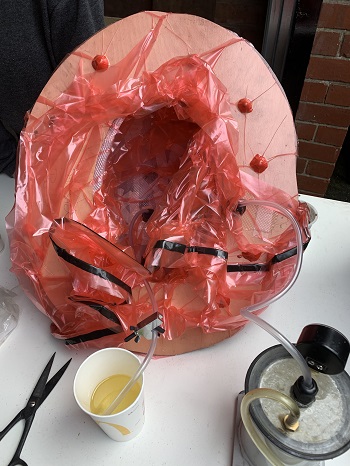
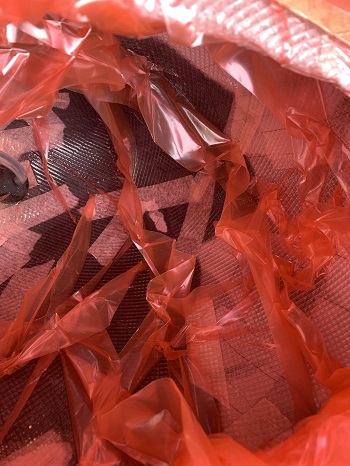
With the three layers now in place, it was time for us to screw on the top of the mould and place plasticine around the nuts and bolts to prevent it piercing through the bag in the next stage.
Happy that we had no sharp edges, the mould was bagged up and attached to the pump to remove all the air and create a vacuum.
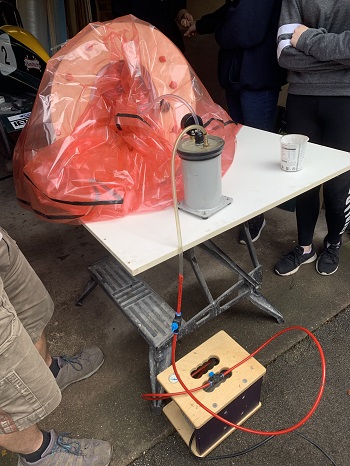
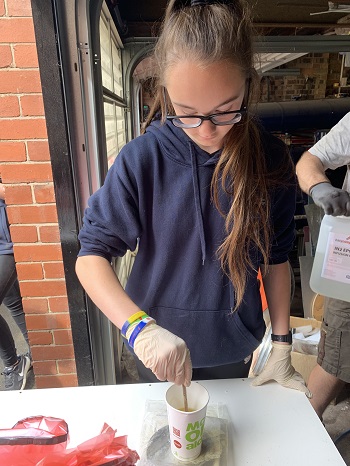
With all the air removed from the bag, Bethan was tasked with making the Epoxy Resin by mixing together the resin and hardener at a ratio of 100:30.
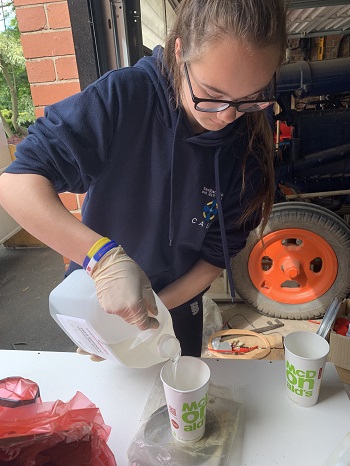
Finally, all that was left to do was pump the resin into the mould and watch it soak through the carbon fibre.....which really is extremely satisfying to watch!!!
This was then left to cure over the weekend in Richard's garage. You'll have to see our next blog post on Tuesday for the finished result!...